
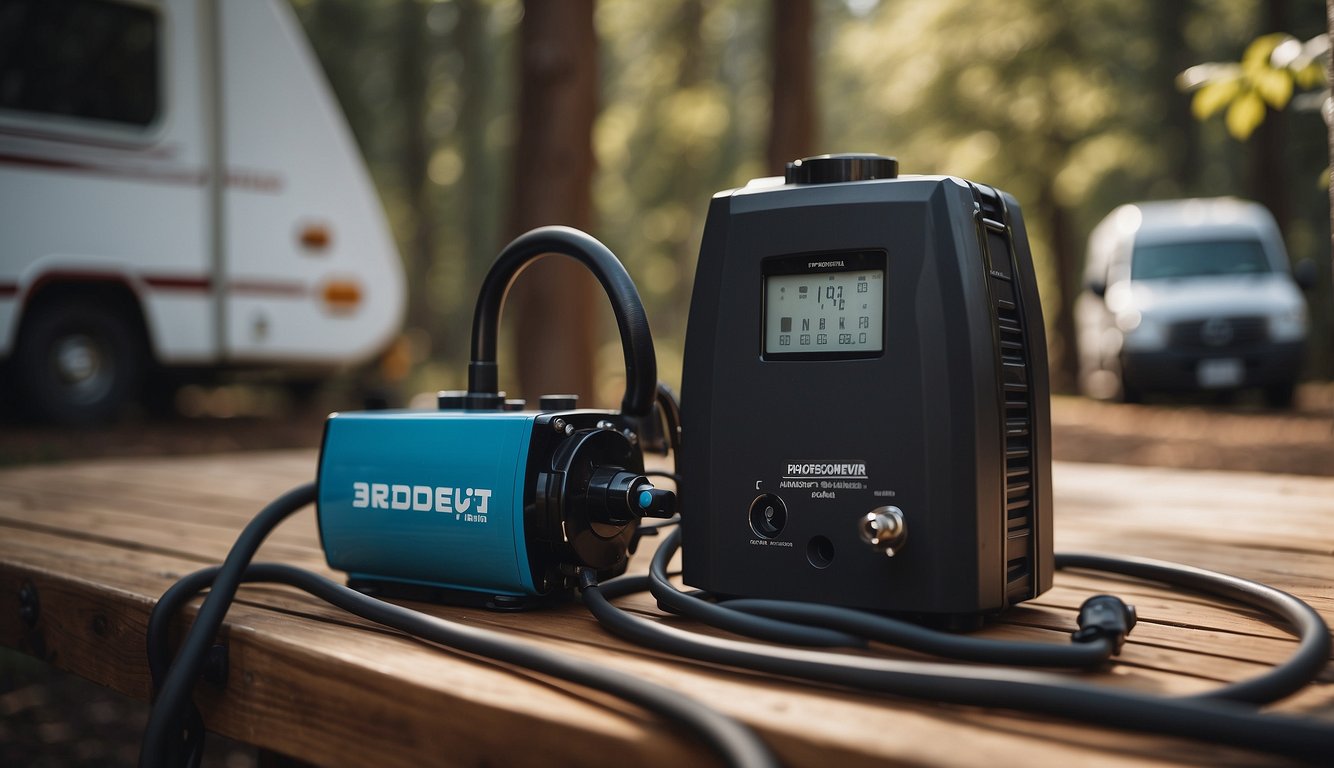
12 Volt Water Pump for RV: Essential Guide for Travellers

If you’re an avid caravanner like me, ensuring a reliable water supply is paramount for a comfortable journey. That’s where a 12-volt water pump for your RV comes into play.
These compact and efficient pumps are perfect for supplying water for showers, sinks, and toilets in your moving home away from home. Powered directly by your RV’s battery, they are designed to operate on the go, making them an indispensable part of your travel kit.
When I’m selecting a 12-volt water pump for my RV, the key is to find a model that matches my water usage needs and the size of my vehicle’s plumbing system. The pump’s flow rate, measured in litres per minute, and the pressure it can provide, measured in PSI (pounds per square inch), are critical aspects to consider. A pump with a higher flow rate may deliver water faster, but it also needs to be compatible with your RV’s system to prevent damage or leaks.
Maintenance is another aspect I always keep in mind. Regular checks and cleaning can extend the life of your water pump, ensuring it performs effectively trip after trip. Moreover, there are a variety of accessories and add-ons available that can enhance the functionality of your water system, like filters and accumulators, which help maintain steady water pressure and flow.
Key Takeaways
- 12-volt water pumps are essential for a reliable water supply in RVs.
- Choosing the right pump requires considering your RV’s water demand and compatibility.
- Regular maintenance and suitable accessories can enhance system efficiency.
Understanding 12 Volt Water Pumps
When I’m considering a water pump for my RV, the key factors I focus on are the pump’s design and performance, as well as the materials and durability. After all, I want a pump that efficiently delivers water and stands the test of time. https://www.youtube.com/embed/U5BnuWoqFAM
Design and Performance
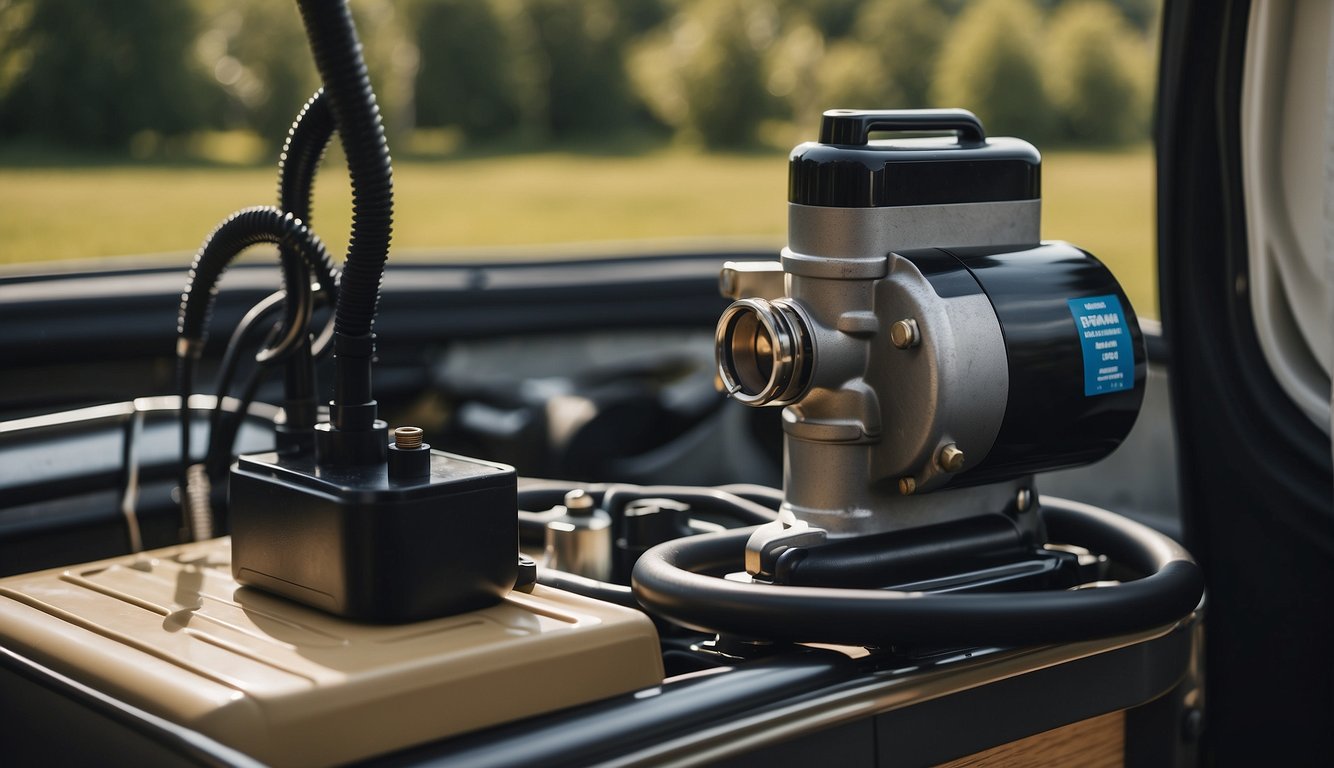
The design of a 12-volt water pump is crucial because it has to fit perfectly within the limited space of my RV. I look for models with a compact form that still offer sufficient flow rate for my needs. For example, the Shurflo pumps are well-regarded in the RV community for their reliable performance and relatively quiet operation. The performance is typically measured in litres per minute; I like a pump that can deliver at least 11 L/min, as it ensures a steady flow to all my fixtures.
Materials and Durability
I pay close attention to the materials used in water pumps because they directly affect durability. I prefer pumps with corrosion-resistant exteriors and rubber mounting feet, which helps reduce vibrations, making operation quieter. In terms of internal components, ceramic seals are a must-have for me, as they tend to last longer and pump more effectively than their plastic counterparts. I also regularly check my pump for wear and tear to ensure it continues to serve me well on my adventures.
Selecting the Right Water Pump for Your RV
When I’m outfitting my RV, choosing the right 12-volt water pump is critical for ensuring a reliable supply of water. Here’s what I consider to make the best choice.
Brand and Model Comparison
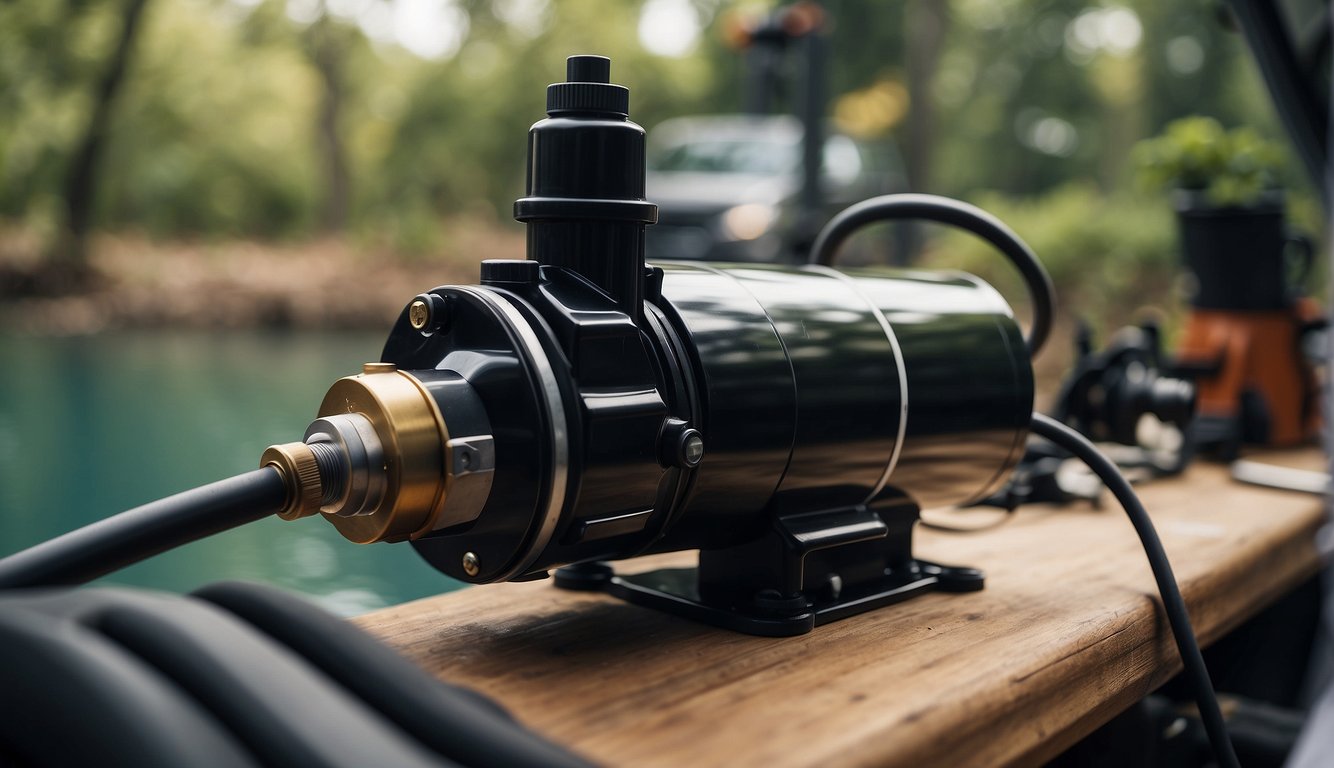
I’ve found that brand and model can significantly impact the quality and longevity of the pump. Shurflo and Seaflo are two brands well-regarded in the RV community. The Shurflo 4009 model, for example, is known for its reliability and efficient performance. However, Seaflo also offers competitive options with features that may suit different needs. I always check customer reviews and product comparisons to weigh my options.
Flow Rate and Pressure Specifications
Water pressure is measured in pounds per square inch (PSI), and flow rates in litres per minute (LPM) or gallons per minute (GPM). For a comfortable shower and efficient sink operation, my water pump should deliver a flow rate approximately between 15 to 26 LPM. I ensure the pump can produce a water pressure range suitable for my RV’s system, usually between 30 to 50 PSI. Getting these specs right means avoiding low pressure that drips frustratingly or too high that could damage my pipes.
Installation Considerations
Before purchasing, I always confirm the ease of installation for the water pump in my RV. While some pumps can be a straightforward DIY installation, others might require professional assistance. I check the compatibility with my RV’s existing fittings and ensure the new pump won’t require extensive modifications. Also, I consider the pump’s dimensions and mounting options to ensure it will fit in the designated space without any hassle.
Water Pump Installation and Maintenance
When fitting a new 12-volt water pump in my RV, I always focus on a precise installation and consistent maintenance for the plumbing and electrical systems. This is essential to ensure a reliable water supply and avoid unwanted hassles down the track.
Step-by-Step Installation Guide
Firstly, I check that the water pump I’ve chosen is compatible with my RV’s plumbing and electrical systems. I make sure to have all the necessary tools and components on hand before I begin. Here’s how I typically approach the installation:
- Turn off all power sources to prevent any electrical hazards.
- Position the pump close to the fresh water tank, to reduce the strain on the pump.
- Secure the pump to a solid surface to limit vibration noise.
- Connect the fresh water tank to the pump’s inlet with a flexible high-pressure hose.
- Attach the pump’s outlet to my RV’s water lines.
- Wire the pump to the electrical system, bearing in mind the correct voltage and polarity.
- Prime the pump by filling the fresh water tank and turning on the faucets before switching on the pump.
Routine Maintenance and Troubleshooting
To keep the water pump in tip-top shape, regular maintenance is key. I conduct a visual inspection of the pump and its connections periodically for any signs of wear and tear. Here’s what my maintenance checklist looks like:
- Inspect hoses for cracks or stiffness.
- Check electrical connections for corrosion or loose wires.
- Look for leaks around the pump’s fittings.
- Clean or replace the water filter, as it’s crucial for preventing blockages.
- Listen for unusual noises when the pump is running, as this could indicate a problem.
If the pump isn’t working properly, I consider common troubleshooting steps, such as checking if the pump is primed, ensuring the power supply is consistent, and verifying that there are no air leaks in the suction line. If these don’t resolve the issue, I refer to the pump’s manual, or sometimes I’ll watch a handy tutorial like this one on how to prime an RV water pump, to seek further guidance.
Enhancing Water System Efficiency
Before we delve into the specifics, it’s important to know that enhancing the efficiency of my RV’s water system hinges on two key upgrades: one that reduces the cycling of the water pump, and another involving the integration of accumulators and pressure switches.
Reducing Water Pump Cycling
My water pump cycling too often is more than just an annoyance; it can be a sign of inefficiency in the water system. To reduce cycling, I ensure that all connections are air-tight and that there are no leaks. Additionally, a properly adjusted pressure switch can make a world of difference by ensuring the pump only activates when necessary. Making sure the pump itself is the correct size for my RV’s water system also contributes to less frequent cycling.
Upgrading with Accumulators and Pressure Switches
To further enhance the system, I’ve found incorporating an accumulator has made a significant improvement. This component stores water under pressure, reducing the frequency of pump cycling and thereby extending its life. I also look for a quality pressure switch that’s adjustable, allowing me to fine-tune the operation of the pump for maximum efficiency. By ensuring these components are in top shape, my water system operates more efficiently, saving energy and reducing wear and tear on the pump.
Accessories and Additional Features

When adding a 12V water pump to my RV, I make sure to consider accessories and features that enhance the pump’s efficiency and longevity. These additions are often just as important as the pump itself for a hassle-free water supply.
Pulsation Dampeners and Water Filters
To reduce the noise and vibration from my water pump, I often install pulsation dampeners. They are essentially pulsation eliminators that help in smoothing the water flow and reducing the “water hammer” effect. It makes a difference to the comfort levels in my RV, especially during the night. As for cleanliness, installing a water filter before the pump is crucial. It ensures that the water staying in my tank is free of debris and sediments. This not only protects my health when using the water but also extends the pump’s lifespan by preventing contaminants from entering the pump mechanism.
- Pulsation Dampener Benefits:
- Reduces noise and vibration
- Smoothens water flow
- Water Filters:
- Protect health by removing sediments
- Extend the lifespan of the pump
Specialised Fittings and Connections
Every 12V water pump I select comes with a range of fittings, but I check for specialised fittings to ensure a leak-free system. These can include straight, elbow, or tee types, depending on my RV’s plumbing setup. Proper fittings are essential to prevent any water wastage or damage to the pump due to the backflow. Modern pumps often incorporate internal bypass technology, which eliminates the need for an accumulator tank and simplifies the plumbing system. I find that installing a pump with this technology helps maintain steady water pressure without cycling. Additionally, I always ensure that rubber mounts are included or added. They are vital for absorbing any vibrations generated by the pump, contributing to noise reduction and the prevention of wear and tear on other components.
- Internal Bypass Technology:
- Maintains steady water pressure
- Simplifies the plumbing system
- Reduces cycling of the pump
- Rubber Mounts:
- Absorb vibrations
- Reduce noise
- Prevent wear and tear
When I'm not doing sleep research, I absolutely love getting out in the great outdoors. Furniture and interior design are among my favorite topics to explore. Being a qualified interior designer and an expert in the field of furniture, I constantly seek new trends and styles in the industry. It's fascinating to learn about different pieces and how they integrate into homes. Moreover, furniture and interior design have the power to bring people together and create a sense of comfort in any space. By writing about these topics, I get to share my knowledge and creative ideas while inspiring others to find the perfect pieces for their own spaces.
- Why Do My RV Lights Dim and Brighten? Understanding Voltage Fluctuations - February 8, 2024
- What Happens When RV Furnace Runs Out of Propane: Avoiding the Chill on Your Trip - February 8, 2024
- How Much Does an RV Inspection Cost: Budgeting for Your Next Adventure - February 8, 2024