How to Insulate Slides on an RV
Insulating the slide outs on an RV is a crucial step in ensuring comfort, regardless of the weather conditions outside. I’ve discovered that the key to maintaining a pleasant temperature within my mobile sanctuary involves more than just having a good HVAC system; it also requires a well-insulated space.
Since slide outs are notorious for being less insulated than the rest of the RV, paying special attention to them can make a significant difference in energy efficiency and overall comfort.
As someone who enjoys the freedom of RV life, I understand that the challenges posed by climate control can vary greatly throughout the seasons. Cold drafts in the winter and excess heat in the summer can turn an RV trip from delightful to daunting.
To curb these issues, I focus on techniques that enhance the insulation of my slide outs, using methods such as weatherproofing and sealing, as well as incorporating additional insulation materials such as skirting and specially designed blankets for that extra layer of protection.
Regular maintenance and following certain efficiency tips also help in keeping my RV’s interior cozy and well-insulated throughout the year.
Key Takeaways
- Insulating slide outs greatly enhances comfort and energy efficiency in an RV.
- Effective insulation involves sealing, weatherproofing, and adding protective layers.
- Regular maintenance is key to sustaining the insulation’s effectiveness.
Understanding RV Insulation Basics
Before we dive into the specifics, it’s important to acknowledge that proper insulation in your RV can significantly increase energy efficiency and comfort.
Insulation’s effectiveness is gauged by its R-value, and selecting the right material for the job is crucial to achieve the best results.
Assessing Your RV Insulation Needs
Firstly, I need to assess my insulation needs by examining my RV walls and current insulation, if any. I check for any existing damage or leaks, as these can greatly affect my RV’s insulative properties.
The goal is to ensure that my RV stays warm during the winter and cool during the summer, without unnecessary energy waste.
Choosing the Right Insulation Material
For the right insulation, I consider materials like fiberglass insulation and foam insulation. Fiberglass is lightweight and often used in RVs, but foam insulation sheets can offer a higher R-value per inch of thickness, making it excellent for maximizing insulation in the limited space within RV walls.
The Role of R-Value in Insulation
The measure of insulation’s thermal resistance, or its ability to resist heat flow, is known as the R-value. The higher the R-value, the better the insulation material is at insulating.
When I think about insulating my RV, finding the balance between the thickness of the material and the R-value is key to efficient energy use.
Insulating RV Slide Outs
When it comes to insulating my RV’s slide outs, I prioritize identifying any insulation problems and then follow a detailed guide to ensure the job is done correctly. This has tremendous impacts on both the comfort inside the RV and also the energy efficiency.
Identifying Common Insulation Problems
The first step in insulating RV slide outs is to carefully inspect the current situation. I look for any gaps or cracks that might allow drafts to enter, paying special attention to old or damaged seals. I also check to see if there’s any visible deterioration of existing insulation materials, which might be causing a loss of heat in the winter or cool air in the summer.
Step-by-Step Insulation Guide
- Step 1: Measure and Inspect
- I measure the size of my slide outs to determine how much insulation material I’ll need. While measuring, I inspect the area thoroughly for any spots that might have been previously overlooked.
- Step 2: Choosing Insulation Materials
- Choices here can include spray foam insulation or foam board insulation. Spray foam expands to fill in nooks, which is great for sealing off irregular spaces, while foam boards are easier to install in larger, flatter areas.
- Step 3: Preparing the Area
- Before applying insulation, I make sure to clean all the surfaces. This ensures the insulation adheres properly and provides an effective seal.
- Step 4: Installation
- Next, I carefully apply the insulation. If I’m using spray foam insulation, I take care not to overfill the gaps, which can buckle the walls. For foam board insulation, I cut each piece to fit snugly without leaving any space for air to flow through.
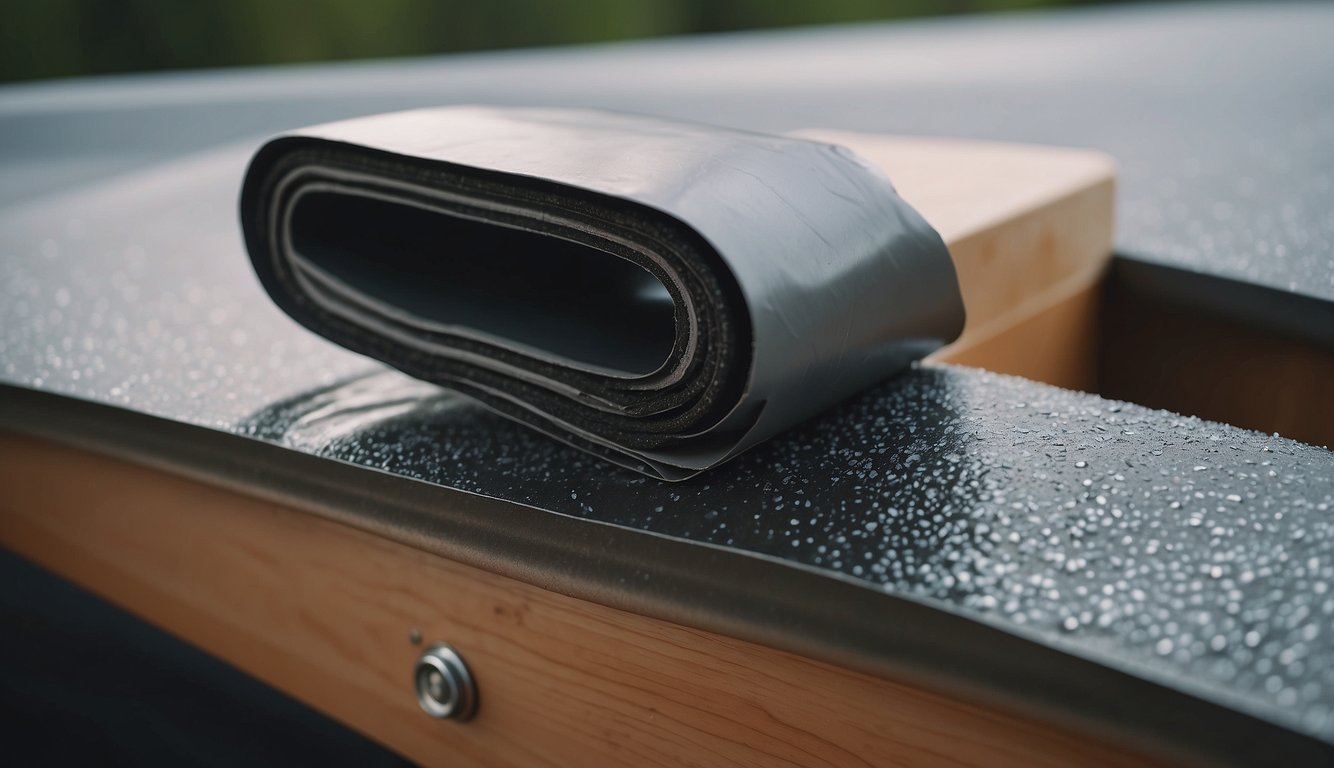
- Step 5: Seal and Protect
- Once installed, I seal any edges with a weather-resistant tape to protect against moisture and reinforce the barrier. This helps to keep the insulation in place and improves its longevity.
Ensuring that I follow these steps thoroughly helps keep my RV snug and can significantly reduce the energy needed to maintain a comfortable temperature inside.
Weatherproofing and Sealing Techniques

Weatherproofing and insulating your RV is critical to keeping it comfortable and energy-efficient. I’ll guide you through using weather stripping and sealants effectively, as well as managing any issues with vents and windows to maintain a cozy interior.
Effective Use of Weather Stripping and Sealants
To combat air leakage and prevent cold drafts, I always make sure to apply weather stripping around the doors and slide-outs of my RV. It’s vital to choose a high-quality stripping material that will endure the rigors of the road and temperature fluctuations.
When I notice gaps or feel a draft, I add an extra layer of protection with weather stripping. It’s a simple, cut-to-fit solution that creates a tight seal.
Sealants are my go-to for filling larger gaps or cracks that weather stripping can’t cover. I use a silicone-based sealant for its flexibility and durability. It’s essential to thoroughly clean any area before applying sealant to ensure the best adhesion.
I always check the sealant periodically for any signs of cracking or peeling and reapply as necessary.
Dealing with Vents and Windows
Vents and windows are common places where unwanted air and moisture can enter, leading to condensation inside my RV. To address this, I inspect all vent seals and gaskets, replacing them if they show any wear or damage. For the windows, I find that dual-pane glass reduces heat loss, but when that’s not an option, I use insulating foam panels or draft shields to add an extra layer of thermal protection.
I don’t forget about my RV’s HVAC system either. Sealing the HVAC ducts with HVAC tape is crucial to prevent air leaks that can cause inefficiencies and uneven heating or cooling. For me, regularly checking and maintaining the integrity of these seals greatly minimizes energy waste and keeps the indoor climate just right.
Enhancing Insulation with Skirting and Blankets

When I winterize my RV, I focus on keeping the cold at bay, especially through skirting and external slide out blankets, which are key to trapping heat and reducing the chill from snow and ice.
Benefits of RV Skirting
I find that skirting provides a significant barrier against cold air infiltrating the underside of my RV. By installing a durable RV skirt, I can create a pocket of still air beneath the vehicle, which acts as insulation. It limits the passage of cold winds and helps maintain a warmer internal temperature during winter months.
It protects the plumbing and tanks from freezing. RV skirting can be made from various materials ranging from custom-crafted fabric to DIY plywood setups, but the goal is always to shield against the elements.
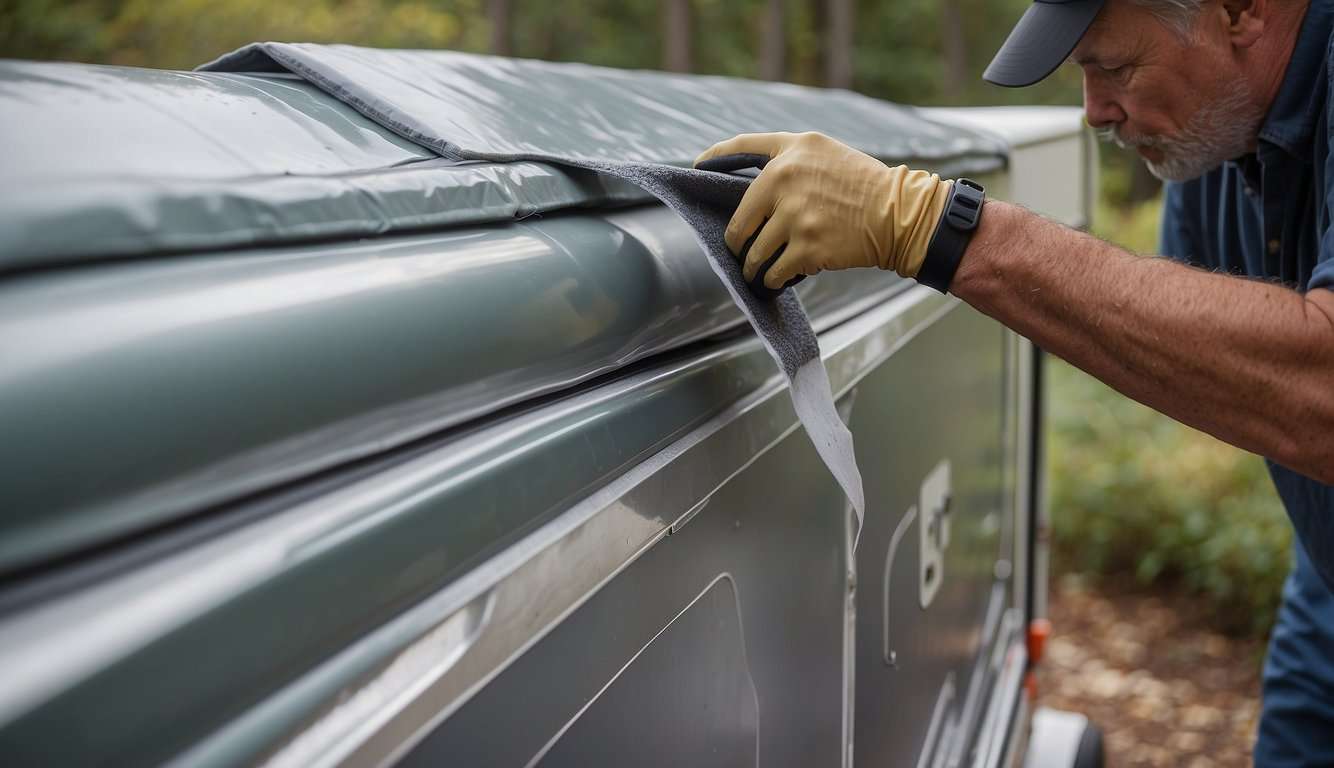
Choosing and Fitting Slide Out Blankets
Choosing the right slide out blankets is crucial for enhancing the insulation of my RV’s extended parts. When I select a blanket, I make sure it’s designed for my RV’s specific slide out dimensions for a snug fit. Installation is straightforward; I either purchase a pre-made exterior slide out blanket or sometimes create a DIY version using insulative materials. It’s essential to ensure that these blankets tightly cover the slide outs to prevent heat loss and block intrusion from snow or ice. For detailed instructions on crafting my own, I often refer to a helpful step-by-step guide.
Implementing skirting around my RV and fitting slide out blankets help me enjoy a more comfortable living space, even when I’m parked in chilly climates.
Maintenance and Tips for Improved Efficiency

When I insulate the slide-outs on my RV, I don’t just think about the installation process. I also pay attention to the maintenance and ways to enhance efficiency. Keeping the insulation in top shape and making smart energy choices will save both electricity and propane in the long run.
Regular Checks and Re-caulking
Maintenance for insulated slide-outs is crucial, and it starts with regular checks. I inspect my RV’s insulated areas every few months to ensure there’s no damage. Most importantly, I look out for any signs of wear in the seals and seams. Weather and movement can cause these areas to degrade over time.
When needed, I perform re-caulking to prevent leaks that let heat escape and cold air enter. A good quality caulk means better thermal retention, cutting down on my electric heat use, and sparing my wallet from buying extra propane.
Energy-Saving Additions and Adjustments
For a more energy-efficient RV:
- Use insulation blanket – I suggest an insulation blanket to keep the warmth indoors without heavily relying on propane or electric heaters.
- Add skirting – It’s an added barrier against the elements, particularly useful in cold weather.
On the inside, I use fans judiciously to circulate the air, ensuring that my RV doesn’t become too humid and that the dehumidifier doesn’t have to work overtime. I also switch to LED lights if I haven’t already, which drastically reduces the electricity usage. These little adjustments contribute significantly to an overall energy-saving environment within my RV.

- Best 12V Portable Camping Fridge - August 13, 2024
- How to Insulate Slides on an RV - February 8, 2024
- How Much Water Does an RV Use Per Day? Understanding Your Daily Consumption - February 8, 2024