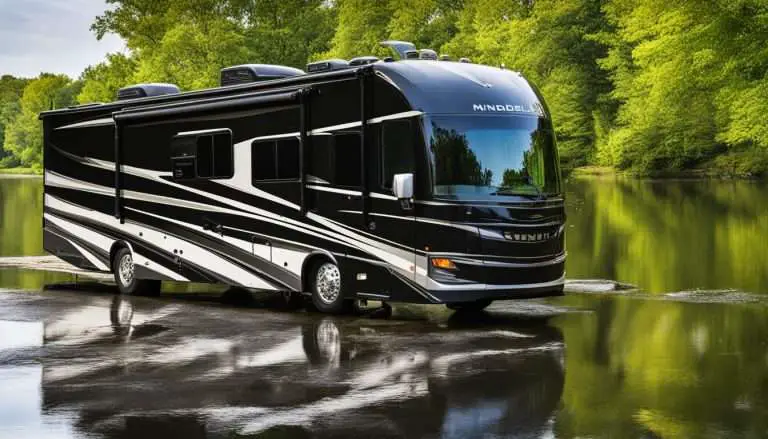
Most Common Keystone RV Air Conditioner Problems & How To Fix Them

Last updated on August 12th, 2024 at 11:34 pm
Camping in the hot summer is practically impossible without a working AC in your RV. The Keystone RV manufacturers know this and install the best-in-class air conditioners in their campers. However, some problems are bound to arise with frequent use.
It would be best to schedule frequent maintenance so your AC is in tip-top shape. Common AC problems include clogged filters, refrigerant leaks, water leaks, malfunctioning thermostats, damaged compressors, and capacitors. It is advisable to have a professional check it out and perform any repairs.
This article aims to highlight the common problems that are related to the Keystone RV air conditioner and their possible solutions.
8 Most Common Keystone RV Air Conditioner Problems

Usually, AC problems arise from disrupted air flow—if the rooms are closed off and no air flows through the RV. Other culprits to AC problems include inadequate maintenance, faulty installation, and poor service procedures.
Keystone RV manufacturers always aim to make rugged and high-quality air conditioners that can last for the long run. However, they may have some common problems as outlined below.
Clogged or Dirty Filter
One of the main culprits that could cause an AC not to function properly is a dirty or clogged filter. The filter plays an important role in maintaining a clean airflow free of pollutants and dust. To check for a dirty filter, inspect it to see whether any light passes through it. If not, you should have them cleaned as soon as possible.
It is advisable to refer to the manufacturer’s instructions and recommendations as to how often they should be changed. Some manufacturers suggest it be done monthly or after three months, while some are reusable and thus only require frequent cleaning.
Refrigerant Leaks
The refrigerant in the AC is used to cool the air AC system. Coolant leaks cause the AC not to function properly. The temperature is also likely to fluctuate. Leaks are also harmful to the immediate environment.
The first thing is to find the location of the leak. This location determines the cost of the repair. It is thus advisable to have your AC examined yearly by a trained professional. If the leak is minor, you can top up the refrigerant. If it is a larger fault, then you may have to change the whole network.
Thermostat Malfunctioning
The thermostat is installed in an AC unit and is used to control the temperature setting. The thermostat may malfunction due to the build-up of dust or corrosion, or dead batteries.
Ideally, thermostats should be turned on, clean, and level, and should not be exposed to sunlight. It should also be in the correct setting. If problems with your AC persist, then there must be another issue. If your thermostat is battery-operated, you can check to see whether the batteries are working fine.
Water Leak
Just like the filter, the drain line can also be clogged by dirt, lint, or dust. When clogged, the drain pan fills up resulting in water leaking out. This could potentially cause damage to the entire AC unit. A water leak from an AC unit always indicates that maintenance is due.
Water leaking is a common AC problem. It can be fixed by a technician or you can adopt a DIY home solution. You can unclog the pipe using a wet or dry vacuum and use vinegar to kill any algae.
Damaged Compressor
An important component in any AC is the compressor. It aids the refrigerant in carrying out the heat exchange and regulates pressure in the AC. The compressor can fail if there is a lack of lubrication, dirty coils, or changes in the refrigerant levels.
If you detect a weak HVAC airflow or the AC is generally not cooling properly, the compressor could be the issue. You can contact a local air conditioning service to solve the problem for you. If the damage is severe, you will have to replace the compressor.
Frozen Evaporator Coils
If your AC is not working properly, it could be due to a frozen evaporator coil. Dirt accumulates in the coils and restricts airflow. Therefore, warm air does not reach the refrigerant and becomes too cold and moisture in the coils freezes.
You are required to first diagnose the problem, then let the evaporator coil defrost. This can be done by disconnecting the power for not less than 24 hours.
Capacitor Failure
If you notice that the AC turns on and off almost immediately accompanied by a clicking sound, it usually indicates a capacitor issue. The capacitor is responsible for giving the motor the initial push to get it working. In the extreme summer heat, the capacitor tends to overheat.
It is advisable to have to capacitor checked by a professional. You should not do it on your own due to the risk of an electric shock.
Breakers or Fuses
Breakers and fuses are put in place to safeguard the AC’s motor and compressor from overheating. Usually, one of the first parts to check when the motor dies is the breaker.
FAQs
Conclusion
Air conditioners are a necessity in any RV. The outdoors can actually be somewhat unbearable without a working air conditioner. It is always important to keep the AC in your RV in working order through regular maintenance. However, some unavoidable problems may arise with frequent use. Hopefully, this article helps you identify them in time and know how to fix them.
You Can Also Read:
- RV Battery Disconnect Switch Problems
- Westinghouse Igen2500 Problems
- 3126 Cat Engine Problems
- Onan p4500i Generator Problems
- Kenworth T680 Cruise Control Problems
- Best 12V Portable Camping Fridge - August 13, 2024
- How to Insulate Slides on an RV - February 8, 2024
- How Much Water Does an RV Use Per Day? Understanding Your Daily Consumption - February 8, 2024


