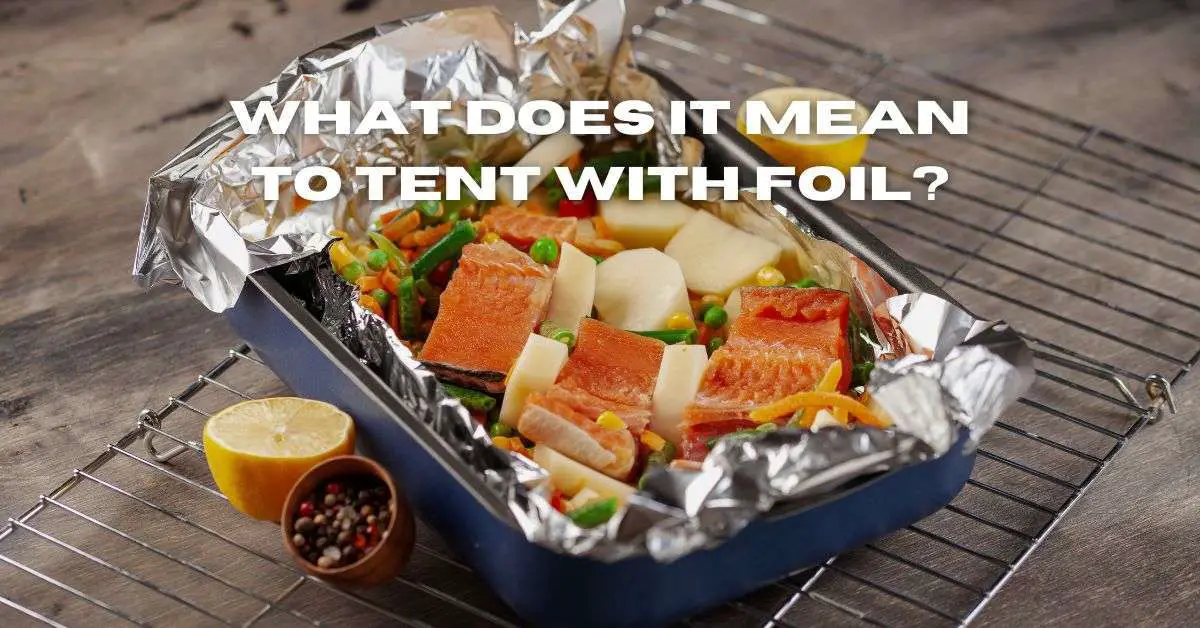
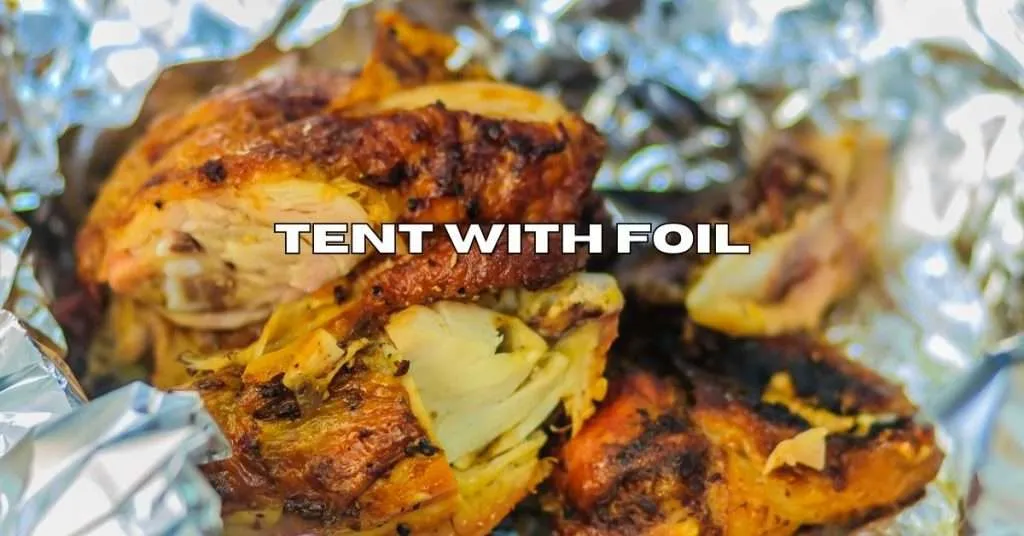
What Does it Mean to Tent with Foil? Secrets of This Camping Technique!
Last updated on August 13th, 2024 at 12:04 am
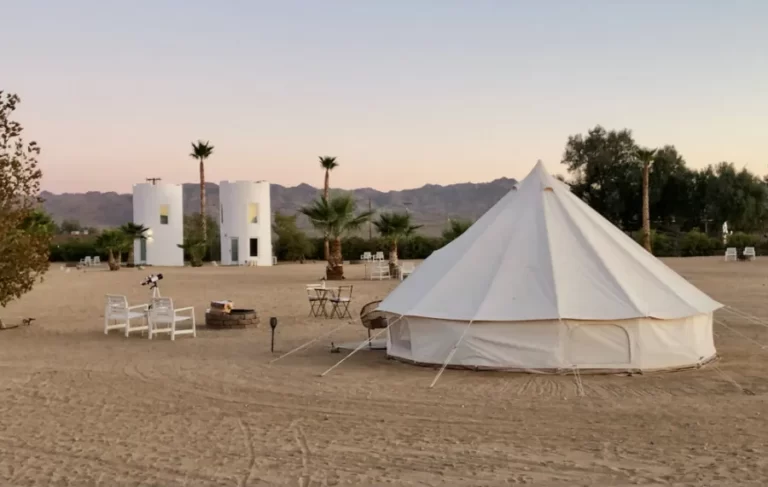
If you want to add style and fun to your camping trip, why not try to Tent with Foil? This new concept has been embraced by many campers and for good reason. It’s a great way to add some flair to your adventure and create a unique and memorable experience. Give it a go on your next outing!
So What Does it Mean to Tent with Foil?
Well, Basically, tenting with foil means covering a frame with my favorite aluminum foil in a bid to create a temporary shelter. You will need a few basic supplies and aluminum foil to do so. This shelter is easy to make and comes with several benefits.
So how can you tent with foil? This article answers that and more. Read on for more information.
Revolutionize Your Camping Experience with Foil Tenting!
At some point in your camping trip, you may want to tent with foil. Creating this makeshift shelter is not a difficult process. There are fun and easy ways to do so for both experienced campers and novices.
My personal choice for Aluminum Wrap when camping is Reynolds Wrap as it seems to be a lot tougher than the rest. Grab some Reynolds Wrap it from here.

Why tent with foil when camping?
Foil tents are budget-friendly and serve as a quick fix to protect against some of the elements.
Moreover, they are ideal for outdoor emergency situations as they are good reflectors. Foil tents also collect dew and can be used to provide water when you are taking shelter.
Furthermore, they are conveniently versatile as they can be used in several settings. They can also be easily set up and taken down and thus save time. With a good construction, foil tents are sufficiently strong. They also tend to be warmer in cold weather.
How to tent with foil
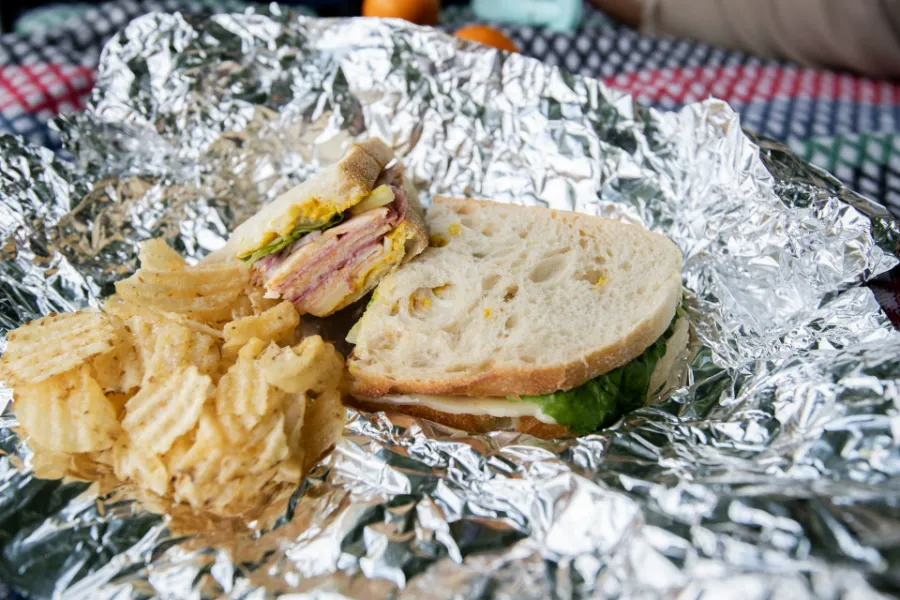
Before learning How to tent with foil, Let me talk about why you should use foil to tent your food. Foil is a fantastic conductor of heat, which means that it will trap the heat coming off of your food and reflect it back down, creating a warm pocket around your dish.
It’s also flexible and easy to handle, so you can create a custom size for any platter or dish. Here’s how to get started:
- Choose the Right Foil: Foil comes in different thicknesses and sizes, so you’ll first want to decide what kind of foil is best for your dish. I recommend using heavy-duty foil for anything that will be out for more than a few minutes. This will ensure that it holds up to the heat without tearing or breaking. You can also use regular foil for dishes that will be served right away.
- Shape the Tent: Take a piece of foil that is large enough to cover your dish and shape it into a dome over the food. You want to create a tent that sits about an inch or two above the dish, so there’s plenty of room for the heat to circulate. If you’re tenting a large dish, you can also use multiple pieces of foil and overlap them slightly to create a bigger tent.
- Seal the Foil: Once you have the tent shaped and positioned, you’ll want to seal the edges of the foil so that no heat escapes. Make sure that the foil is snug against the dish, but don’t press it down too tightly. You want to create a space for the air to circulate and trap the heat inside the tent.
- Let it Rest: Once your foil tent is in place, let it rest for a few minutes before serving. This will allow the heat to build up inside the tent, creating a warm environment for your food to stay hot and delicious.
- Enjoy the Results: When you’re ready to serve, simply remove the foil tent and watch your guests marvel at the hot food. No one will have to suffer through a cold burger or a chilled potato salad again!
Advantages of using a foil tent
- It is versatile, it can be used in a wide range of settings.
- Foil tents are sturdy with good construction.
- They can be easily set up and taken down.
- Foil tents offer protection against the elements.
- Foil tents are warmer in the cold weather.
- The foil serves as a good reflector.
What to consider when using a foil tent
- Ensure you have proper ventilation in the tent. These tents tend to block out sunlight hence adequate ventilation is vital.
- Aluminum foils can get too hot when exposed to direct sunlight. Therefore, ensure you shade it properly and add ventilation.
- Whereas sturdy, foil tents can get noisy in extremely windy conditions. Ensure they are properly secured.
- These tents also tend to collect condensation. Proper ventilation, therefore, comes in handy as well as towels to dry off moisture.
How to make a tent foil.
As mentioned earlier, making a tent foil is a straightforward procedure. Here are some of the methods you can adopt.
Method 1: The Frame
You can start by creating your frame with the help of basic gear and aluminum foil. This is the ideal method for beginners or those with inadequate skills when it comes to tent building. It is a conveniently simple DIY project.
What you will need
- Roll of aluminum foil
- String or twine of sizeable length
- 4 poles (broom handles, branches, or sticks can do)
For creating the frame, set up the four poles in a rectangular or square outline. With that laid out on the ground, tie each corner with the strings to bring the frame together. This gives the basis for a strong-structured tent.
From here, you are required to cover your frame with the foil. Unroll your foil smoothly and meticulously place it over the frame, smoothing out folds or wrinkles to ensure the frame is properly covered. Afterward, cut off the excess foil, if any, using a pair of scissors.
And that’s it! Your tent is ready. You can stake the corners using heavy logs or rocks and you are good to go.
Method 2: Foil tent bag
This method involves creating the foil tent with a bag. It is relatively more complicated than the previous, one but can still be handled by novices.
What you will need
- Tape (alternatively you can use a staple gun)
- Roll of aluminum foil
- Sizeable garbage bag
- Stakes (optional)
Cut your bag at the bottom with these supplies to have a large open space. Take out your aluminum foil and roll it into a cylinder. Ensure that it is tight enough and put it in the open space of your bag. This step ensures your tent has a sturdy base.
The next step is to cut the bag once again—two slits on either side close to the top. The poles are inserted on these slits. With the poles in place, a staple gun or tape is used to secure them. With that done, cue the aluminum foil.
Unroll the aluminum foil and drape it over the top meticulously enough while smoothing out folds and wrinkles. Excess foil is cut using a pair of scissors once the entire tent is well covered.
Place this structure on top of the frame and stake the corners using heavy logs and rocks. The tent is ready.
Method 3: Foil tent tunnel
In this method, a tunnel tent is created using aluminum foil. This is a rather complex method but it creates a sturdier and larger tent. The more experienced tent builders can take this on.
What you will need
- 4 poles (broom handles, branches, or stick can do)
- Roll of aluminum foil
- String or twine
Creating the frame is the first step. The four poles come in at this point to create a rectangular or square outline. Once the frame is set up, the corners of the frame are tied together using the string. With that, you have yourself a sturdy structure.
From here, the frame is covered with aluminum foil. The same process is followed; unroll, drape it over the frame, smooth out, and cut off excess foil. With that, the foil tunnel is ready. Stake down corners with heavy logs or rocks.
10 Things you can cook tenting with foil
Here is a list of my 10 favorite things I like t cook whilst tenting with foil. Dont be alarmed I have over 30 recipes that I keep in a handy dandy notebook, but these ones are sure to make you drool. If you would like the recipe for any of these, let me know and ill write up some tenting foil recipes.
- Roast Turkey: After the turkey is browned, cover it loosely with foil to keep it from over-browning and to help it cook through evenly.
- Baked Salmon: Tent the salmon with foil during the last few minutes of cooking to prevent it from drying out.
- BBQ Ribs: Wrap the ribs in foil after they have been grilled or smoked for several hours. This helps to tenderize the meat and infuse it with flavor.
- Whole Chicken: Tent the chicken with foil for the first hour of cooking to help it cook through and prevent the skin from burning.
- Pork Tenderloin: Tent the pork tenderloin with foil during the last few minutes of cooking to allow it to rest and reabsorb its juices.
- Baked Potatoes: Cover the potatoes with foil while baking to keep them from drying out and help them cook through evenly.
- Meatloaf: Tent the meatloaf with foil during the first half of cooking to prevent it from drying out.
- Beef Brisket: After smoking or slow-cooking the brisket for several hours, wrap it in foil to keep it tender and juicy.
- Corn on the Cob: Wrap the corn in foil while it’s grilling to keep it moist and prevent it from burning.
- Grilled Vegetables: Cover a grill pan with foil before grilling vegetables to prevent them from sticking and to make clean-up easier.
FAQs
Final Thoughts
Tenting with foil adds style and fun to any camping trip. It is a revolutionary concept and is possible with the steps outlined above. Now that you understand What it Means to Tent with Foil, You can try it out on your next camping trip.
- Best 12V Portable Camping Fridge - August 13, 2024
- How to Insulate Slides on an RV - February 8, 2024
- How Much Water Does an RV Use Per Day? Understanding Your Daily Consumption - February 8, 2024